For your first skin, we shall create a 200 pixel by 200 pixel image. This will be small enough to fit on all screens, but large enough to give us something to work with.
TIP: Make sure that you use RGB Color and not CMYK as Xion doesn't support CMYK yet.
TIP: Choosing 'Transparent' as the 'Contents' of the image will ensure your skin will have transparent parts.
|
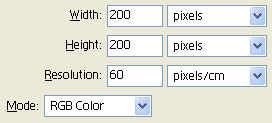
Figure 1
|
On the new image that is created for you, draw a shape; any shape. We will use this as our background layer. Notice that any area you don't draw on has the default transprent squares showing. This means that when you view your skin in Xion, you will see parts of your desktop coming through in these locations.
|
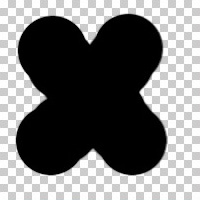
Figure 2
|
The next step is to create a new layer, draw something on it and give the layer an appropriate keyword. We will be creating a 'play' button so the correct keyword for a play button is simply 'play'.
TIP: Layer names don't have to just contain a single keyword; in fact they contain a mixture of your own names as well as Xion keywords.
|
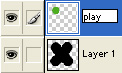
Figure 3
|
After drawing something on the layer and naming it, your skin should look something like the image to the right. If you like, you can save your skin to a PSD file on your hard drive and try it out in Xion. To load the skin in Xion, simply Drag and Drop the PSD file onto the Xion interface, and it will load for you.
TIP: Placing your PSD file in your Xion\Interfaces directory will allow Xion to find it in the 'Choose Interface' Dialog.
|
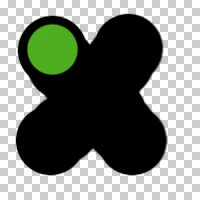
Figure 4
|
We shall now add another layer. We want this new layer to act like a 'stop' button, so that's what we shall call our layer.
TIP: Xion keywords are always lowercase. If you were to enter 'STOP' or 'Stop' then the layer will not be detected by Xion.
|
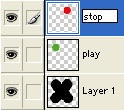
Figure 5
|
|
We have just added a 'stop' button. Your skin should look something like the image to the right. Feel free to test it out in Xion. |
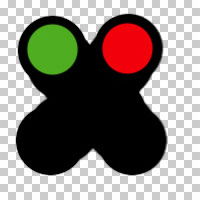
Figure 6
|
The next thing to add might be the current Track title. Go ahead and add a new layer. Give it the name 'track' so that it acts like a Track layer. The text layers that Xion supports behave slighly different than your average 'button' layer. The area that you draw in a text layer, will be used to render the text. If you draw a box, then it will scroll across that box. If your box has transparent areas, the text will go transparent in those areas.
TIP: There is no need to stick to one colour for your Text layers. You could easily create rainbow text by using the gradient tool and painting an area for the text to scroll in.
|
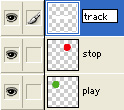
Figure 7
|
Your skin should now look something like the image to the right. If you now load it into Xion, you will see that the white square will be replaced by white text.
|
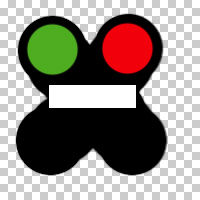
Figure 8
|