Continuing on from the Creating a basic skin Tutorial we will add a mouse over image for our 'play' button. Create a new layer above the existing 'play' layer and name it 'play_over' as shown in Figure 1.
TIP: Placement of the layer is crucial. This is so that you can have multiple layers with the same function, yet still have independant mouse over and mouse down images.
|
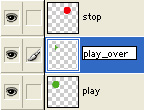
Figure 1
|
Draw a shape onto the new layer.
This will be used to represent our mouse over state. Ensure that you set the visibility of the new layer is set to invisible.
This is to ensure that when the skin first loads, the mouse over image is not displayed. (It is possible to leave it visible, as Xion will hide it, but you will see it fade out)
|
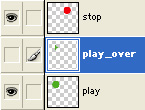
Figure 2
|
If you load your skin into Xion and move your mouse over the play button, you will see it change from the normal image to the over image.
Notice that Xion handles the transition automatically for you, giving you a professional fade between the two layers.
|
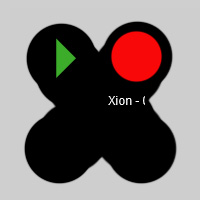
Figure 3
|
Now add another layer, but this time below the 'play' button layer and name it 'play_down'.
Draw something on the layer, and once again set the layer visibility to invisible. |
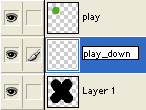
Figure 4
|
When you preview in Xion this time, you will have a mouse over image, and when you click and hold down on the button, you will see the down image as can be seen in Figure 5.
TIP: Creating mouse over and mouse down layers that are roughly the same size as the normal image is advised so as to not confuse the user by changing the button's appearance too much.
|
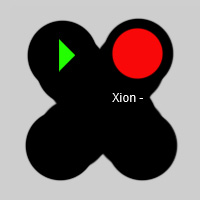
Figure 5
|